I would recommend to start with this video to understand the concept of this application. Live demo on how-to start a Quick Capture project – minute 11:14.
Following the video above, I would like to create my own Quick Capture project that I could demonstrate to other end-users. I would like to use an SDE database, with data to be registered and published into Portal. Additionally, I will test functionalities later on my personal AGO account to collect info of a more personal interest and compare Portal and AGO experiences.
First thing I noticed is the shortage of instructions on how to prepare feature layers, but plenty of instructions about how to setup QuickCapture projects in the web interface.
Preparing the data
I would like to create a blank feature in a database and pre-set the symbology using unique values before publishing it into. Without drawing any features and filling out attribute fields it will be rather hard to use “unique values”. One way I can probably try it is by using domains.
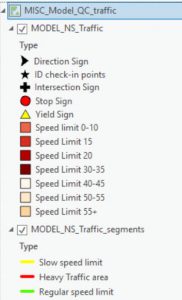
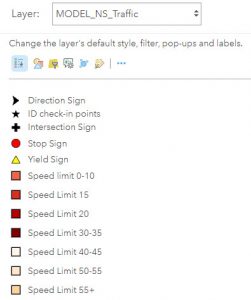
- I created 2 features to collect roads signage and traffic information in my area. Add 2 domains to my database: one will manage types of road signs; second one will record areas of low-speed limits as linear features.
Hint: to create domains, either right-click on the database to find “Domains” option; or from a loaded into a map layer – right-click on the layer – Data Design – Domains. To assign domains to specific fields, open Data Design – Fields, locate correct field name, and look for a “Domain” column in the design table.

- Load data into a new ArcPro map and symbolize each layer using “unique values” option. Domains are assigned to fields named “Type” in this case.
- Checking online to see how the data published – so far everything looks good, symbology made it.
Creating QuickCapture project
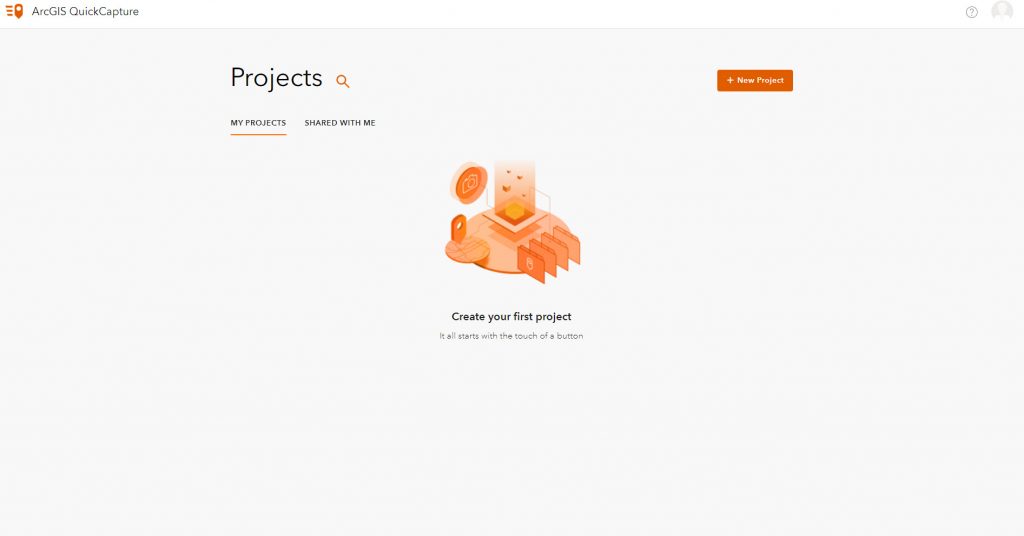
QuickCapture interface could be launched from the top-right corner of a Portal or AGO. Home page will hold the list of projects that are created. For the first time it looks empty. Proceeding with creating a new project to collect road signage.
On the next screen, located newly published layer. Select “Next” when you see this pop-up:

One more screen to confirm the Title, recovery email and Portal/AGO online folder where it will be stored.
Now we are in the design mode. The interface is easy enough to figure out, and rather fun to play with. Preview is in the center, with the right-side panel controlling properties or displaying additional broader settings.
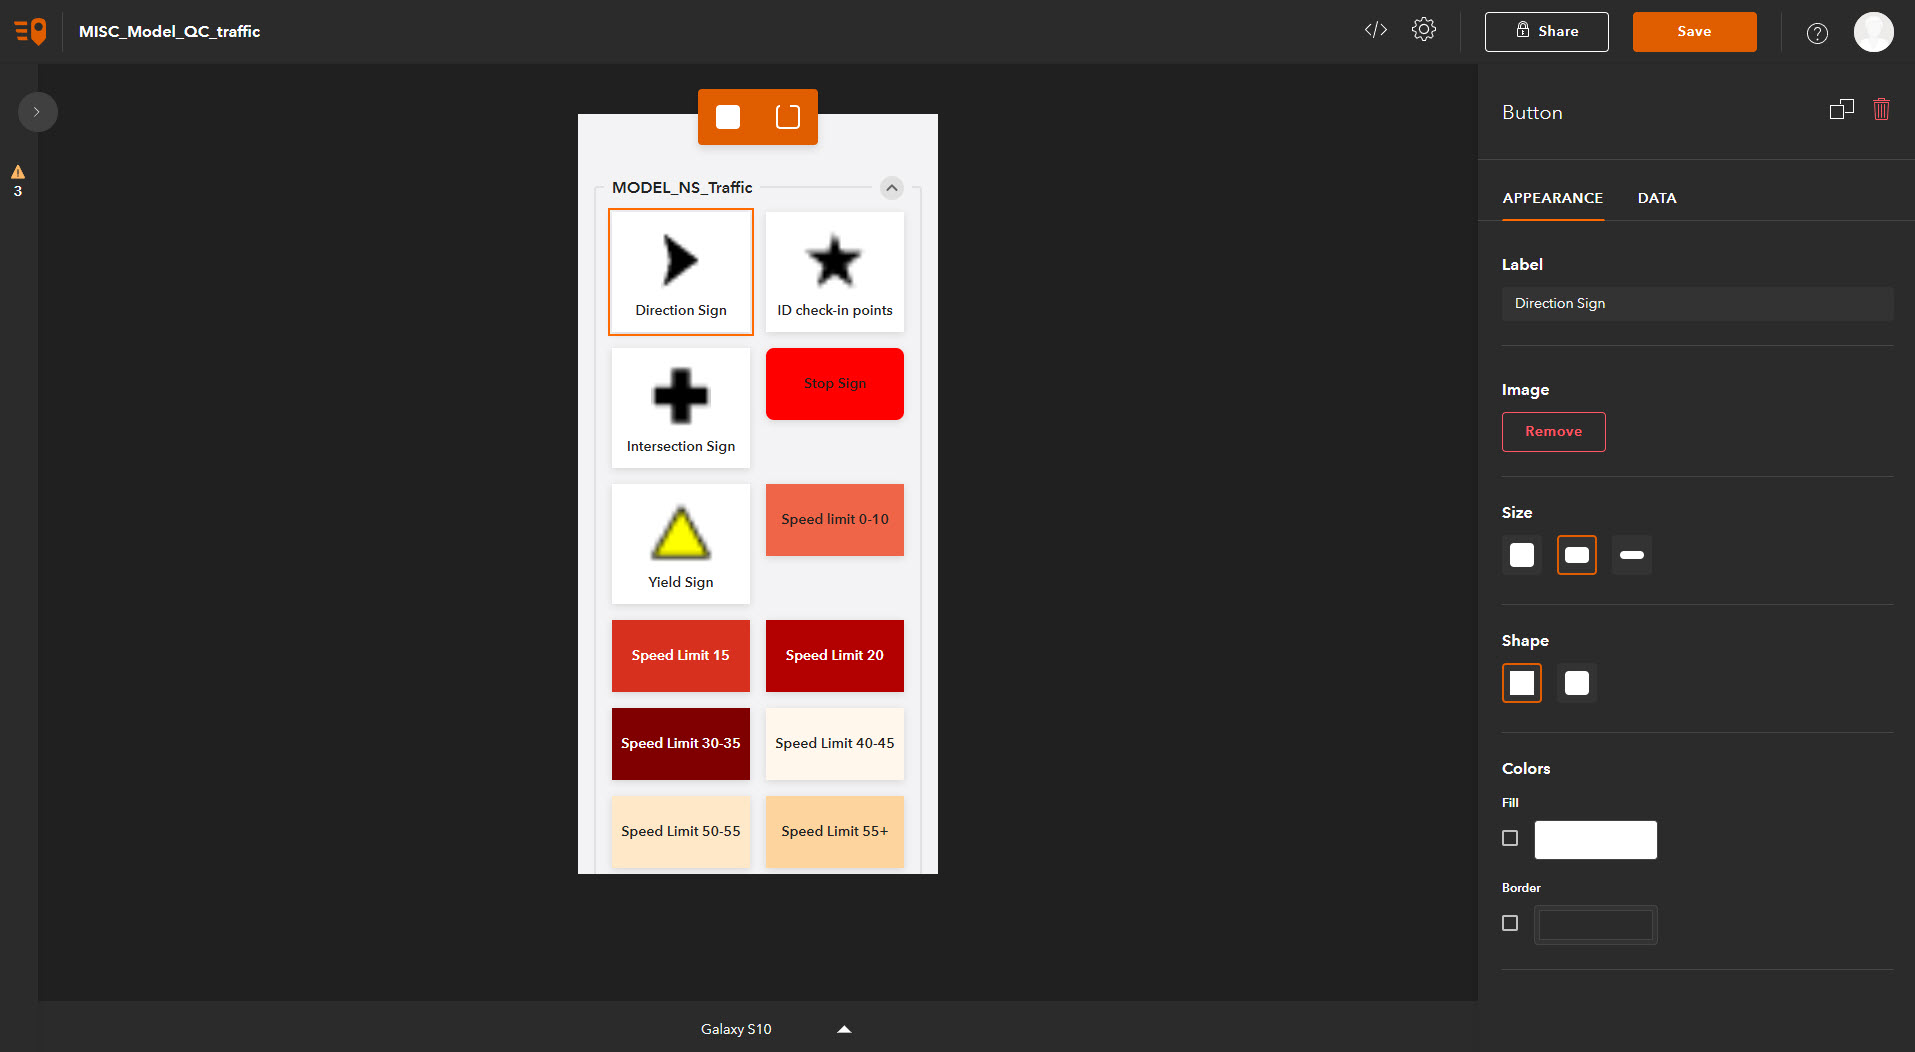
As buttons are loaded based on 2 features (points and lines in this case), they are automatically loaded as two groups. it is possible to split a group into two or more based on a common logical denominator. In the case of points, I have regular road signs, and I have signs listing speed limits. I will separate speed limit signs into individual group.
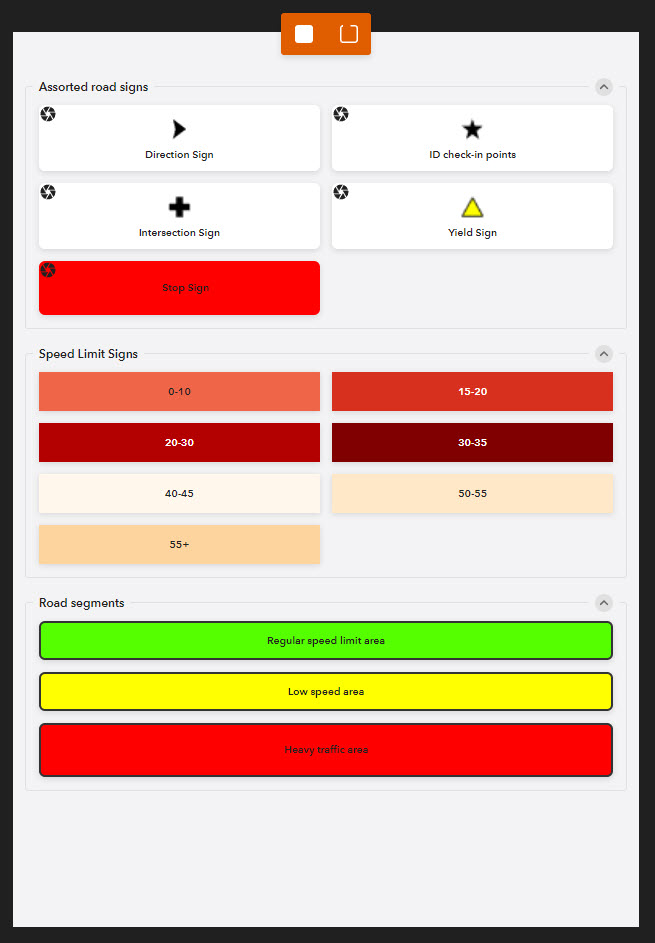
Below is my final result, ready to be shared and tested on a tablet.
Testing QuickCapture on mobile devices
Positive observations about QuickCapture include the ease of download and connection, available notifications when updates are available, ability to preview data before sending. Couple of recommendations:
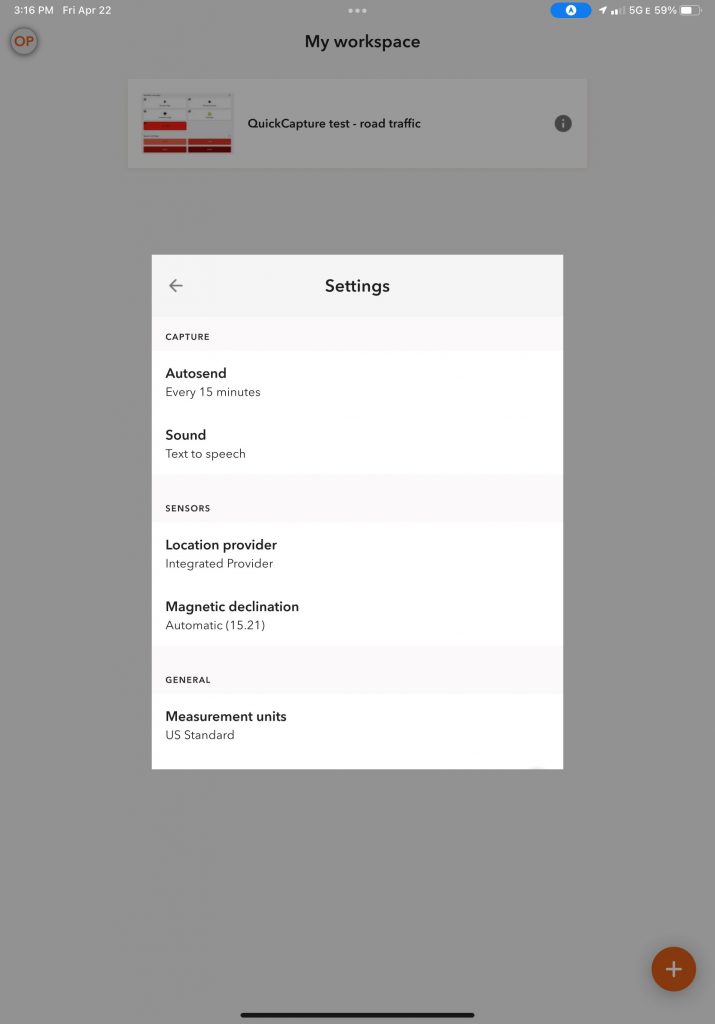
- Visit Settings of the mobile app, and adjust the “Autosend” to delay sending the data out. This way you are able to preview what was captured, before data is submitted and disappears from the device.
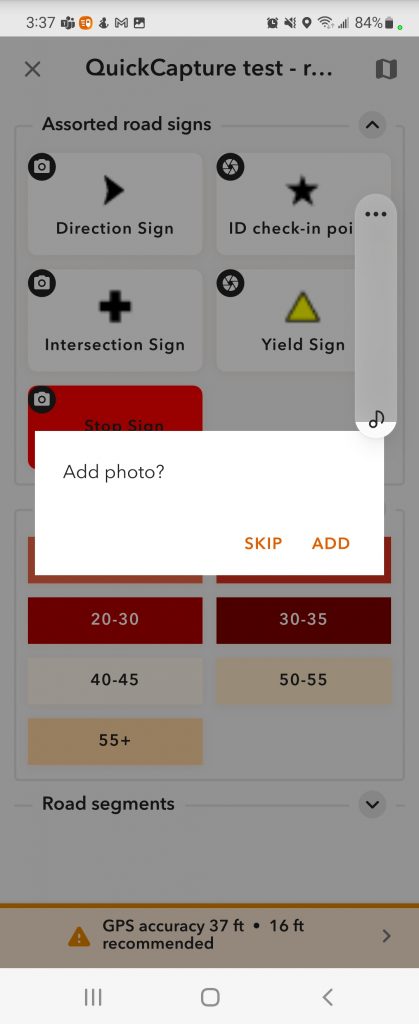
- In the Web Designer, when identifying whether or not to take pictures, I would recommend checking “Required” option if you enable taking photo on a button.

If you don’t want to collect photos, then just don’t enable this functionality. But if you do, select “Required”. On the mobile device, if a photo is not required, but enabled, the device will ask you whether or not you would like to take a photo. This introduced a slow down into the capture process.
- Pay attention to pre-set, or required accuracy. While for point data you still might be off as you drive by the features you are recording, and not actually stand right over them, low accuracy for linear features will become a problem.

Once you are ready to record a linear feature, just click a button of interest, and start walking/riding. A recording in progress circle will be flashing until you press again to stop.