ArcPro version used in this demo is 2.8.1.
ArcPro style files now have extension .stylx as oppose to ArcMap .style extension.
In case symbology has to be imported from ArcMap to ArcPro:
- Default ArcMap styles that come with installation are stored here: C:\Program Files (x86)\ArcGIS\Desktop10.8\Styles.
- Any style created in ArcMap would be stored here: C:\Users\username\AppData\Roaming\ESRI\Desktop10.8\ArcMap.
Additional ArcPro styles could be downloaded from here – ArcGIS Pro Styles.
- Additionally downloaded symbology might come in an older Pro version format. Software will automatically as you if you would like to upgrade style file.
For my purposes I had to weed thru all style types listed by ESRU here – Styles—ArcGIS Pro | Documentation. Following summation is created as a workflow in order to get me to custom web map symbology.
NOTE: the purpose of the web symbology in this case is to provide end-users with additional gallery of business related symbols. Published web styles can not be used for online feature layers within web maps.
General access and control of style libraries is done from the Insert Tab – Styles Group.

Step 1 – starting a new symbol
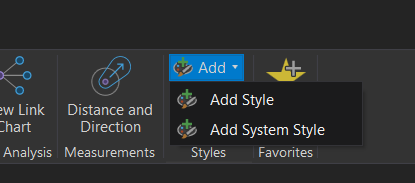
Start with System styles – these are authored by ESRI and included with ArcPro installation. To see what is available, select “Add” in the Styles Group – pick “Add System Style“.
Next window provides list of all installed styles. Check desired categories on the left – they would be added to the right-side column.
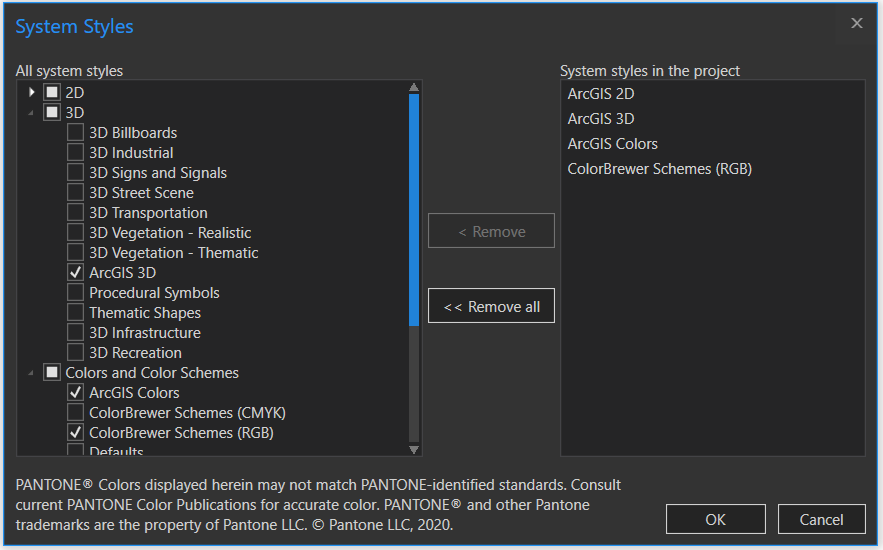
System styles could be additionally customized in the Symbology panel, under Properties tab.
Once you have a new symbol that would be nice to save for other projects, there are few options available:
- add to Favorite styles – would only be saved within the same ArcPro project
- add to a Custom .stylx file that could be used across multiple projects
Lets review the difference between these two in Step 2.
Step 2 – saving custom symbols
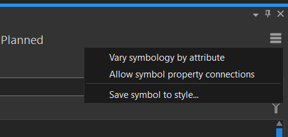
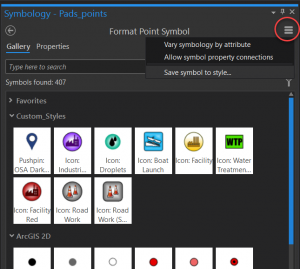
Favorite style – always available in a project as it is linked to a user account while other styles are connected to a project. Favorite group is instantly initiated in the Symbology panel at the top-right corner (select “Save symbol to style…”):
Items in your Favorites style always appear at the top of galleries in the Pro project.
Custom styles – reside within manually created .stylx files. These files have to be connected to each Pro project, but could be added to and maintained from within any Pro file. Follow these steps to create and populate custom styles:
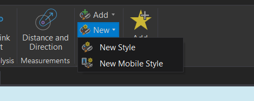
Create empty style (.stylx) file: go to Insert Tab – Styles Group – New drop-down menu – New style
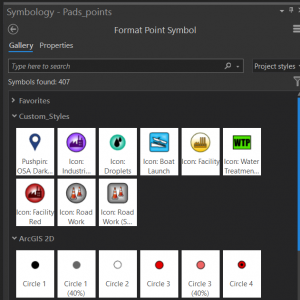
If an existing custom style file has to be added to a new ArcPro project, go to Styles Group – Add – navigate to location where the custom file was initially created in – select needed .stylx file – click OK to add. In my brand new project Custom_Styles.stylx file was added to the galleries below Favorites:
I keep populating this file every time I want to save a new symbol (point, line, polygon) that I like. Adding new symbols into added custom style file, use the same menu at the top-right of the Symbology panel.
This time select appropriate file from the drop-down list under Styles.
Scroll further down to see step 3
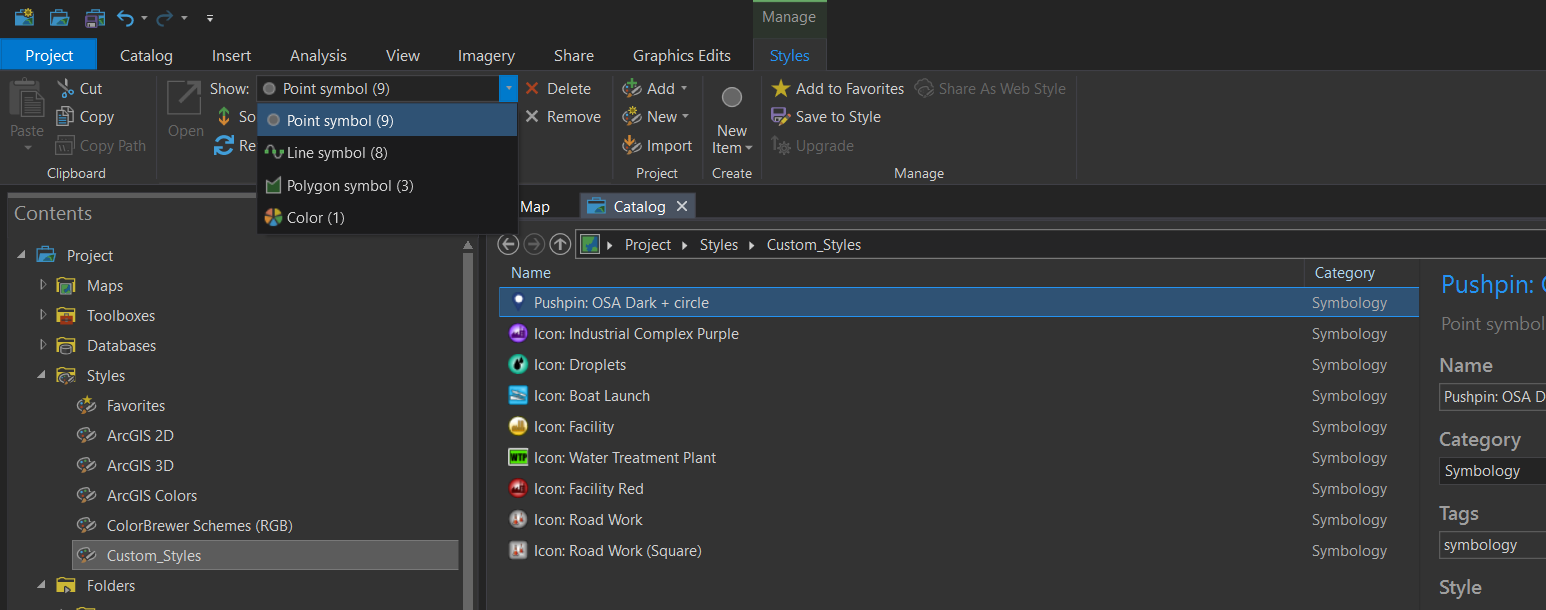
Managing symbols in a style file
If I need to adjust my symbology any further, it has to be done from the Catalog View. To open Catalog View, go to View Tab – Windows Group – Catalog View

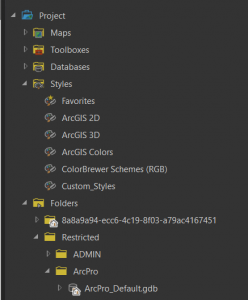
If a file has already been connected to the project, then you can select it from under Project – Styles. Otherwise, navigate to the style file location, right-click to select Add style to add it to the project.
NOTE: as of ArcPro version 2.8.1, I failed to find an option to edit symbols without adding custom style file to a project. In other words – it has to be added into any pro project before symbology could be edited further.
New tab called Styles will show up in the Ribbon. Use the drop-down menu to scroll thru symbology types – points, lines, polygons.
Web Styles
Step 3 – sharing styles into Portal
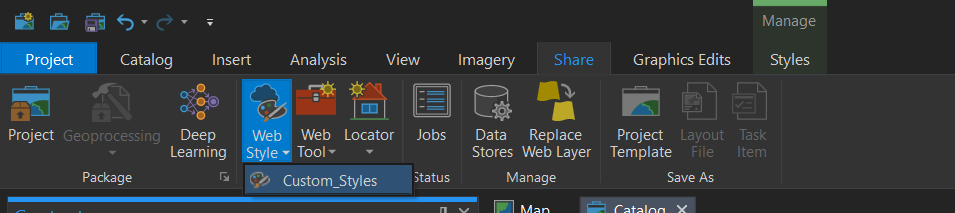
Web style is basically a conversion of a custom style into a web format. Like anything that goes into a web, a style file has to be shared.
Like everything that is shared, the style file has to be selected. Go to Share Tab – Web Style – select the name of the custom style file from the drop-down menu. In the example below I only had one file – Custom_Styles.stylx)
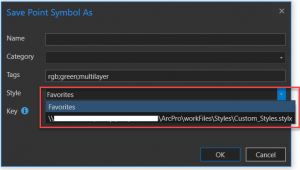
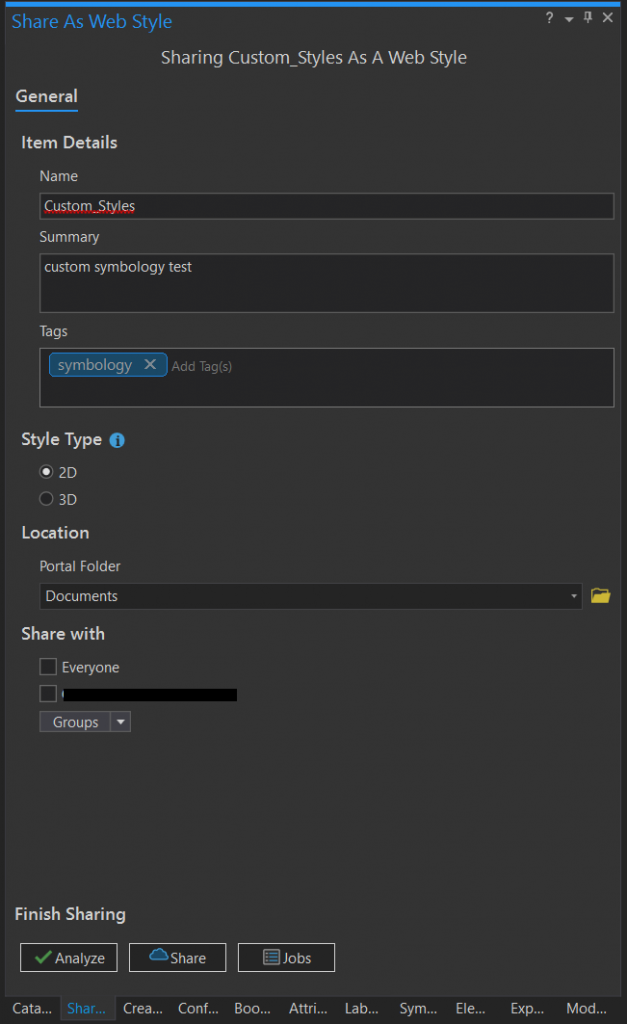
Couple of notes here on the subject of maintenance – make sure Key property for each symbol is very simple and DO NOT have any special symbols. Ready to share?
Sharing options are pretty simple at this point. Just make sure that the style type is selected either 2D or 3D.
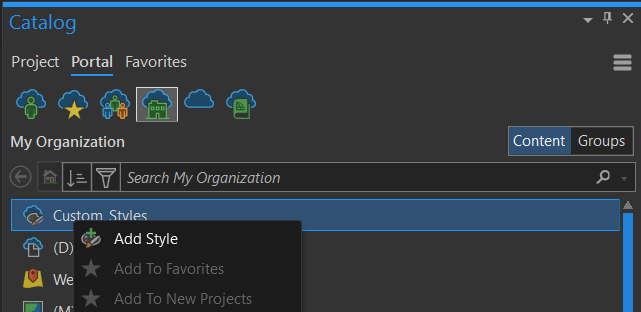
Here is a caveat however: just because a style is shared into ArcGIS Online or a Portal, does not mean that it could be instantly applied to any feature layers within web maps. All you can really do at this point is to bring it back into a Pro project.
There is a spot on the Enterprise servers where default styles for online use are stored: C:\Program Files\ArcGIS\Portal\framework\webapps\rootapp\images\Symbols. All symbols, however, are stored as .png files