So, here I have 3 DTMs (.tif format) to become one DEM first before I can make a Hillshade. Let’s review the process in Global Mapper and the ArcPro.
Global Mapper
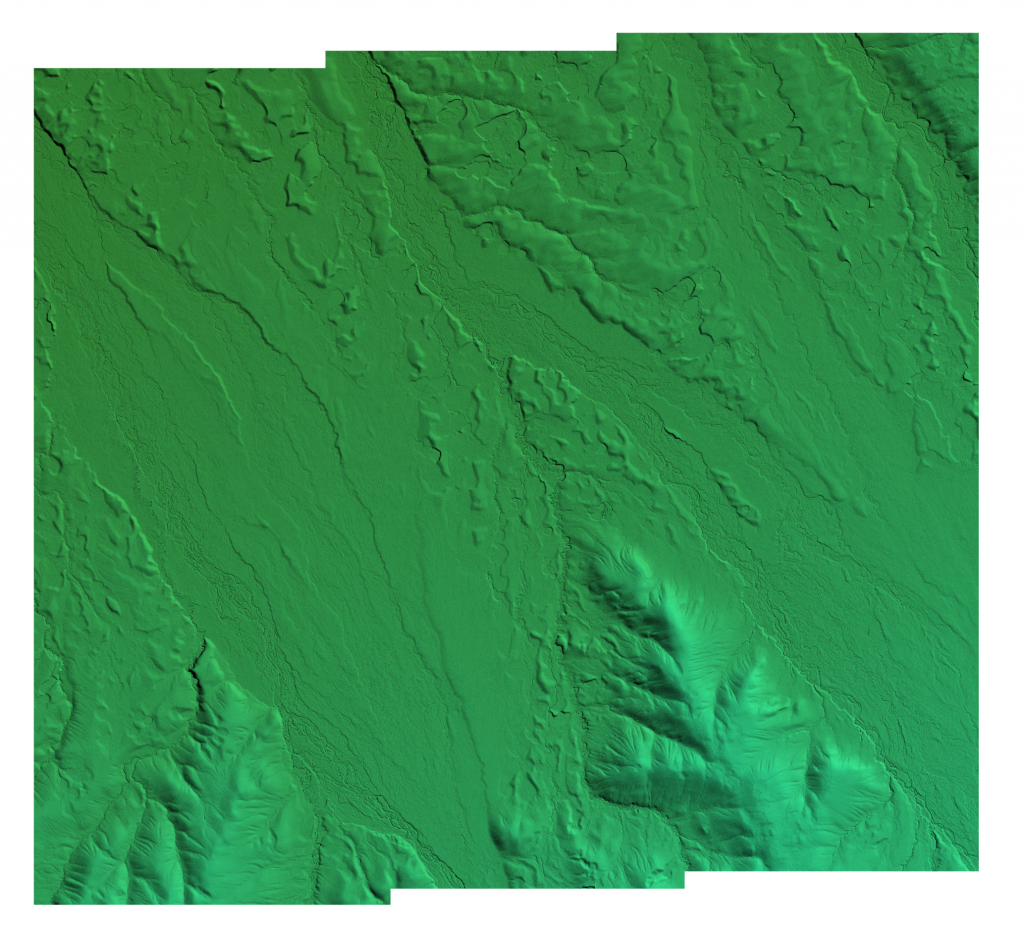
Global Mapper blends overlapping rasters together and applies Hillshade effect. All that is left – exporting into one DEM file. Alternatively, just use Global Mapper to play with the data.
Another great thing about Global Mapper – its rendering ability. Very often a large size raster would render way faster in Global Mapper than in GIS. And let’s not forget the 3D viewer that could be initiated inside of the Global Mapper.
Exporting several strips is very simple – select them all, right-click – Layer – EXPORT – Export Layer(s) to New File…
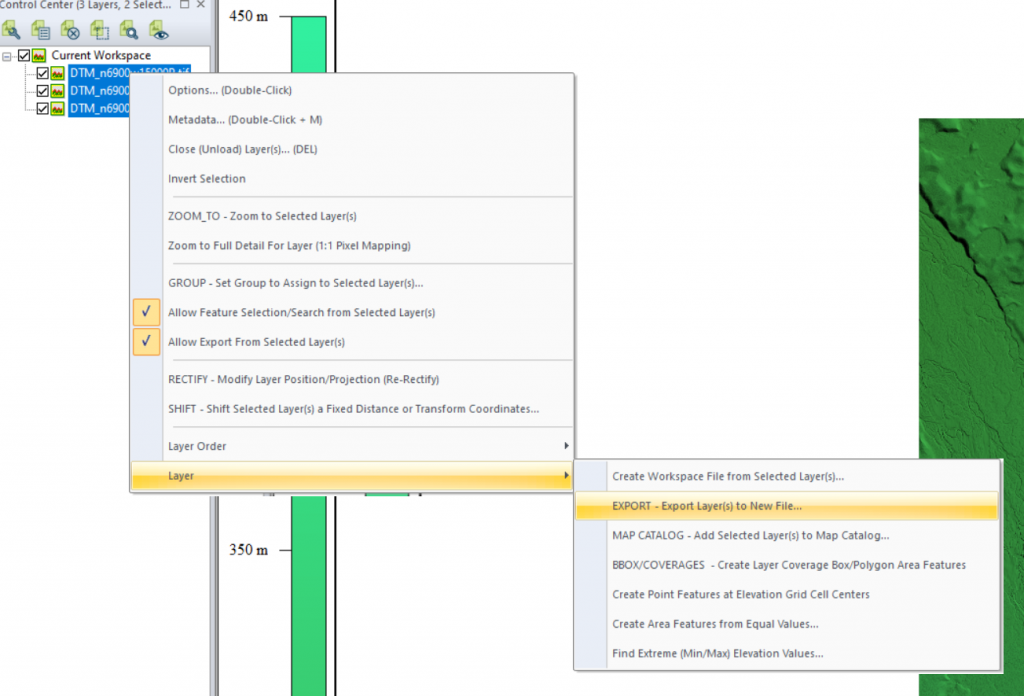
On the next screen confirm the list of raster strips that would be exported.
There is a large number of formats available to choose from. Here pick DEM. Adjust appropriate settings before confirming the export.
NOTE: there are some projections that are not supported by USGS DEM even if they are supported by the Global Mapper or other GIS software. In that case, strips will have to be re-projected into one of the more common projections.
To project in Global Mapper –
load rasters into the interface. Locate configuration toolbar:
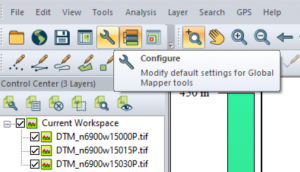
Locate Projection section:
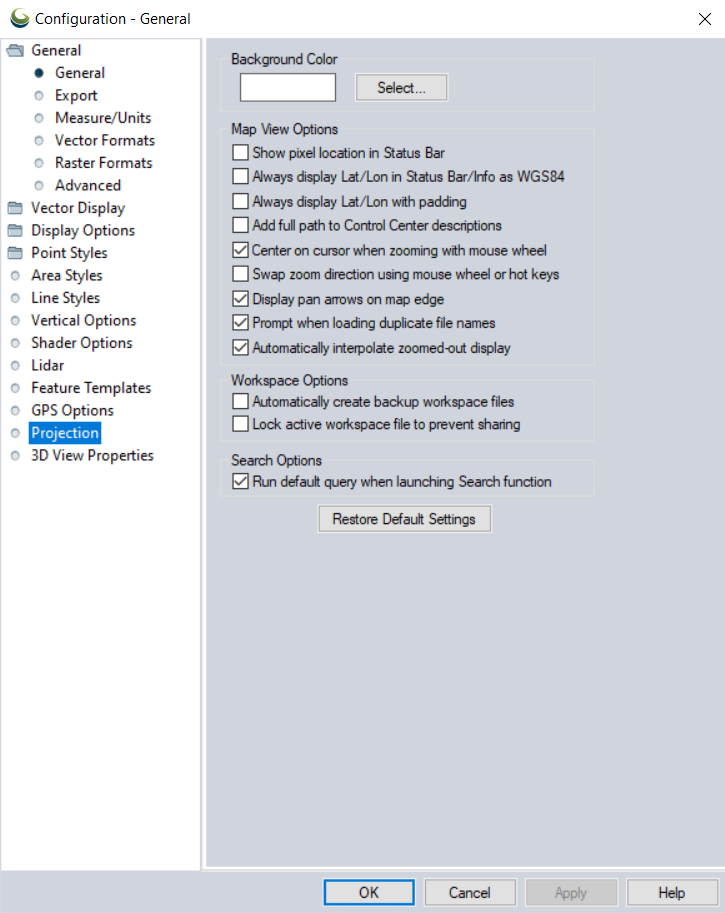
On the next screen, set desired projection. Confirm the action.
Workflow In ArcPro
To project rasters, search for Project Raster tool in the ArcPro Geoprocessing (also located under Data Management Tools – Projections and Transformations – Raster – Project Raster).
To merge rasters I would here use Mosaic To New Raster. Make sure to specify file extension when filling out parameters if you need specific format.