Each system design and deployed would have its own unique features. Each organization applies different naming conventions, follows different data management practices.
When setting up the data space, I generally use following approach 1on1: how could the data be categorized?
This would depend on type of general activities that take place in any given business or industry. Accumulated data types depend on general GIS needs and on the data generated by activities of those who GIS people support.
Picking names to store data on GIS servers is not that simple. I adopted this approach – applying 3 letter codes at the beginning of each feature name. Codes represent categories that data falls into. The rest of a feature name = short code to identify location (data extent) + brief description.
What this effectively does it groups data by the type of content and sorts those groups in an alphabetical order. Brief descriptions generally are alphabetized too if there are several layers with a similar data. This is how the data gets published into Enterprise Portal, or ArcGIS Online.
- So, for the Enterprise environment, it would probably be preferred to be name aware up front. If publishing a single layer, I would apply coded name in the ArcPro project. No spaces or dashes. ArcPro converts those to underscores “_”.
- If grouping several shapefiles and publishing them as a layer together, the coded name would be applied to the map name in ArcPro. Map then is shared from the ribbon Share tab as a web layer. In this case, individual layer loaded into map, could get pretty names and spaces are OK.
Data could be copied into a Data Store, which is a ArcGIS managed Postgres database. Or coming out of the SDE, as a registered data. Deciding where the data will be stored (Data Store or SDE) should ultimately be part of the design created during the Enterprise system deployment.
Viewing published layers
Published layers become web services. Those services could be viewed from:
- GIS Portal interface (https://portalName.com/portal)
- Server Manager side (https://portalName.com/server/manager)
- Server Admin side (https://portalName.com/server/admin)
Portal provides quick and simple access to the data for all users in the Organization. Server Manager allows to manage published services some more, as well as monitor certain activities that take place between the server and the Portal.. Server Admin – allows more advanced administrative actions performed on the server itself.
From Portal
Each layer would be assigned couple of a unique URLs.
- URL in a web browser bar containing portal web address followed by a unique item ID assigned to each published layer.
- URL to item located on the server. These URLs could be found at the bottom of each item details page. These URLs point to server/rest/services…. Using this type of the URL effectively takes you to the server side but without providing any administrative access.
From the Server Manager
To access GIS Server, add “server/manager” to the portal web address. Login using appropriate administrative credentials. This is where services reside.
- Registered data (coming from the SDE) – is listed under Service tab – Manage Services – SITE (root)
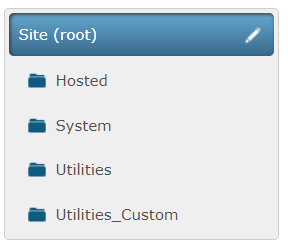
This data would have a small container icon next to it. By default, every data coming out of the SDE would be published as Map Service. If Feature Layer were enabled, you will not see them here any longer, as Map Service is basically in charge. The only way to find out if Feature Layers were created during the publishing – would be by clicking on a name of a layer to get into its properties – under capabilities “Feature Access” would be selected.
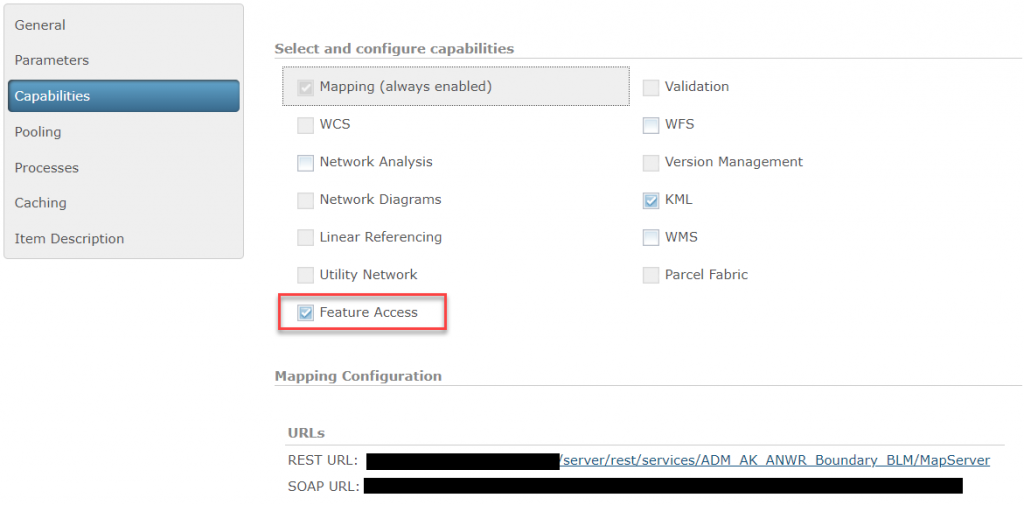
Note, the rest URL here – that is the same URL that could be found in the Portal.
- Hosted data (stored in the Data Store) – will be listed under Hosted. Since it is GIS managed, there are not too many options provided here.
From the Server Admin
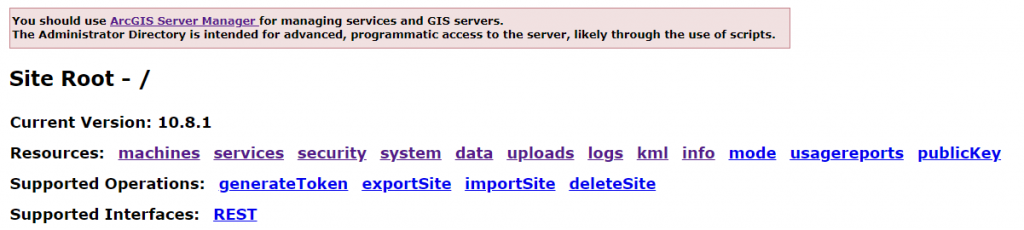
Accessing Server Admin is similar to accessing the Manager – replace “manager” with “admin” in the URL (https://portalName.com/server/admin). The interface is completely different. Up front there is a message how it is recommended to manage services from the Manager console.
I will be breaking this rule here since I see no other way to handle this particular task – renaming already published services.
Renaming Published Services
It would probably be a better practice to publish properly up-front. However, mistakes might happen. Especially mistakes would happen when there are multiple people publishing into Portal and the process is not always properly coordinated.
Renaming could be done from the Server Admin side.
Server Admin
Click on services link (see picture above). This is where those URLs I pointed earlier to are actually residing at.
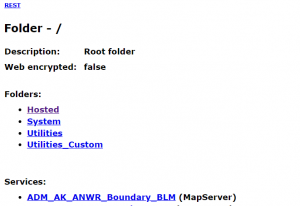
Note, how SDE registered data is still sitting on top. Hosted layers will be stored under “Hosted” link.
Scroll to the bottom of the screen to find more links. Find “renameService”.

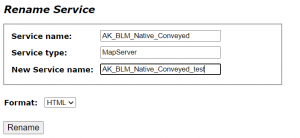
In the next window, enter the exact name of the service you wish to rename. If renaming Feature Service, enter FeatureServer into Service type field. Note, that FeatureServer is only available for hosted service. Enter MapServer for map images.

Enter new name in the last field and click “Rename”.
Here is the reason I made these notes. At the moment I am in the Enterprise installation 10.8.1. While the change takes place on the Admin side, it does not go all the way thru to Portal side.
Example
I am going to go ahead and rename one of my registered layers. The change takes place and the previous page listing all rest services reflects new name in the URL.
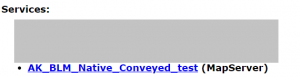
Going back to the Server Manager. Looks like the new name was applied at least at this level.

Rest URL seems to be correct too (located in the properties under Capabilities)
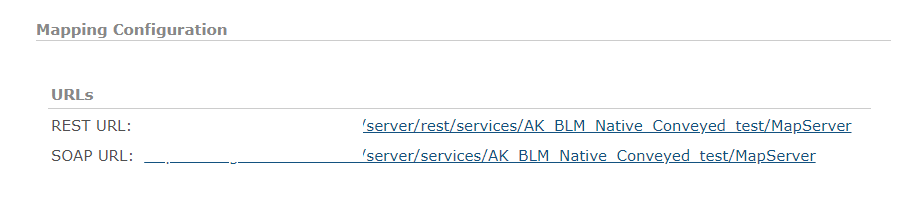
Now, let’s take a look at the service from the Portal side. I will open the layer information page and check the URL at the bottom – the rest URL still has the old name (I added _test at the end of the name).
Changing service name in the Portal
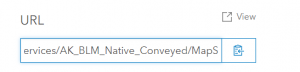
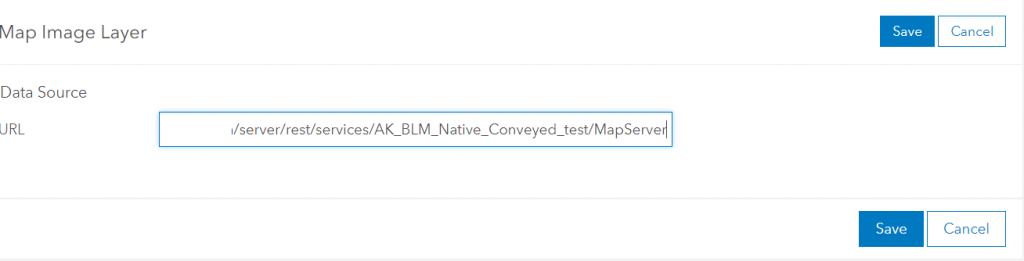
While still on the info page of the layer, click Setting in the top-right corner. Find Map Image Layer section with URL window and adjust the name here. Click save when done.
I do have a matching Feature Layer for this data. The same action has to be performed on the Feature Layer.
If the rest URL is not adjusted this way, the data would not be loaded as it would still be looking for the old rest URL.
Things to consider – ArcPro
ArcPro registers location of online files the same way it registers shapefile locations on local machines. Renaming this way should be the last resort, as it might break connections to the data for the desktop users. I do need to test this though.
Renaming Published Service – Hosted layers
In theory, hosted layers could be renamed the same way – from the Server Admin side. However, since the data store is managed by the GIS, and new names don’t translate to the Portal side, the renaming process at the moment won’t work (unless I have issues with my current deployment).
When layers are published into the data store, two things are created: Service Definition and the layer (Feature or Map or other) itself. The settings tab in a hosted item description page in the Portal does not provide means to modify rest URL like we have it for the registered data. And since the changes to names don’t go all the way to the Portal side – the layer will not load.
The only work-around in this case would be to republish this layer with a correct name overriding the version in the data store.