In This Post:
- Setting up map series – Spatial
- Setting up map series – Bookmark
- Exporting map series
- Map series elements in the Title Block
- Adding Insert Map with Index Layer as Extent Indicator
- Sources
Map series in ArcPro work in a similar manner as Data Driven Pages in ArcMap. There have been some enhancements to what to set the series to, but the general premise is still the same. Version 2.8.2 of ArcPro is used in this post.
So far, there have been no development in allowing to set more than one frame to be dynamic in a single layout. Meaning, only one map frame can move through your project area. If you have to create map series where each layout page has two map frames – there will have to be a different work around for this situation. So far, ArcPro behaves in the same manner as ArcMap – dynamic changes could be only applied to one map frame.
ArcPro offers following options to create map series:
- Spatial – extent for each page in series is a specific feature. If creating map series over roads, common practice would be to create a polygon feature which would contain frames positioned along road route (index grid). Series would move from frame to frame.
On the other hand, let’s assume for example that we have a shapefile that contains outlines of individual buildings. We want to create map series where each map is focused on individual structure – map series would dynamically go thru each record for individual buildings in the layer. This eliminates the need to create index grid.
- Bookmarks – This seems to be a new feature introduced in ArcPro. Here extent for each map in the series would be tied-in to bookmarks.
There are two primary steps to take in order to get map series going:
- Set map series up
- Activate map series in a layout.
Setting up map series – Spatial
Layout has to be create, and map frame needs to point to a map which would be used to move across.
Once in the layout mode, there are two options to set map series:
Option 1 – go to Layout tab on the Ribbon – under Page Setup group locate Map Series – select one of the series types (spatial or bookmark)

Option 2 – in the table of contents, right-click on the layout – go Properties
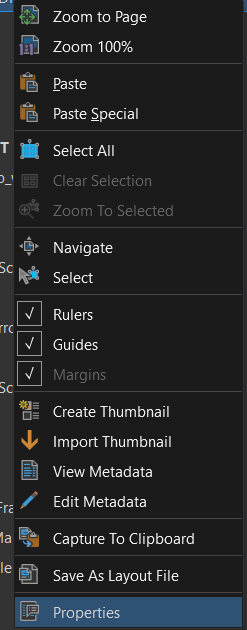
Effectively, either option would take you to this dialog box:
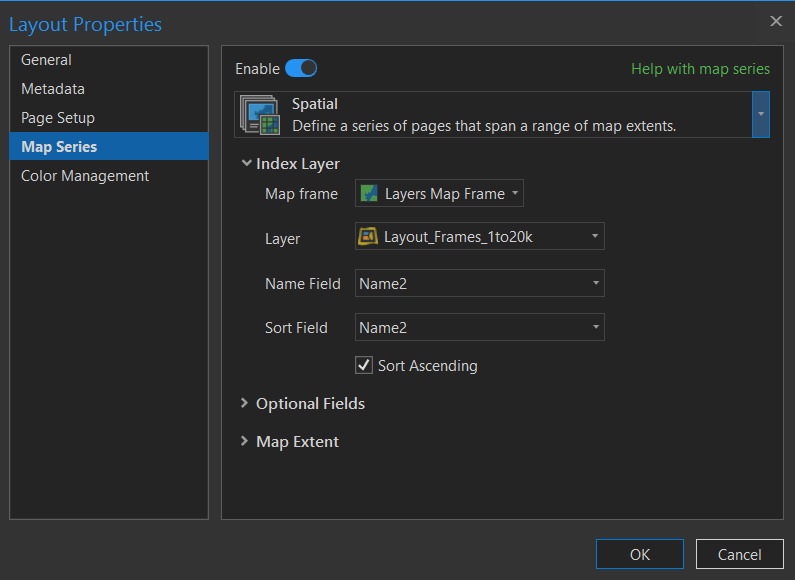
In this example, I have a feature layer created with a series of boxes positioned over a long road. Those boxes were created to have each map in the series set at about 1:20,000 scale.
Name field – comes from the attribute table of the grid layer – will be used to add a Figure reference to each page in the series.
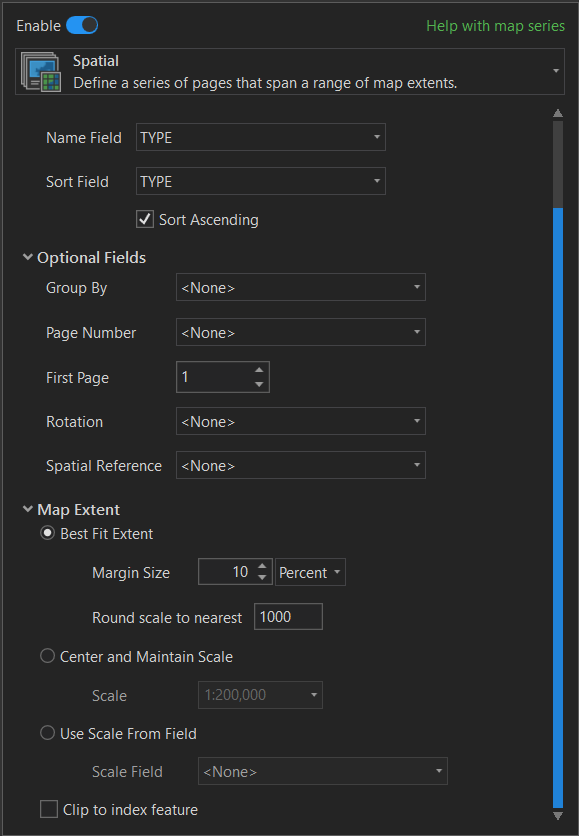
Optional Fields and Map Extent (will be discussed further below) – generally are similar to ArcMap.
Below are my three frames (layout boxes), positioned along a road and without any rotation.

Attribute table behind is very simple – figure number. Here I am using one of many approach, but it could be something easy like “Figure 1”, “Figure 2”, “Figure 3” etc. I could add another column and call it “Page Number”. I could use that column to drive page number information that would go into layout title block from, and I could use “Name” field to dynamically drive map in the map frame from one boundary to another.
If created boxes don’t quite fit into dedicated map frame, use Map Extent options to adjust how map frame would center over created layout boxes.
Make sure “Enable” option is turned on, otherwise map series will not be active and available.
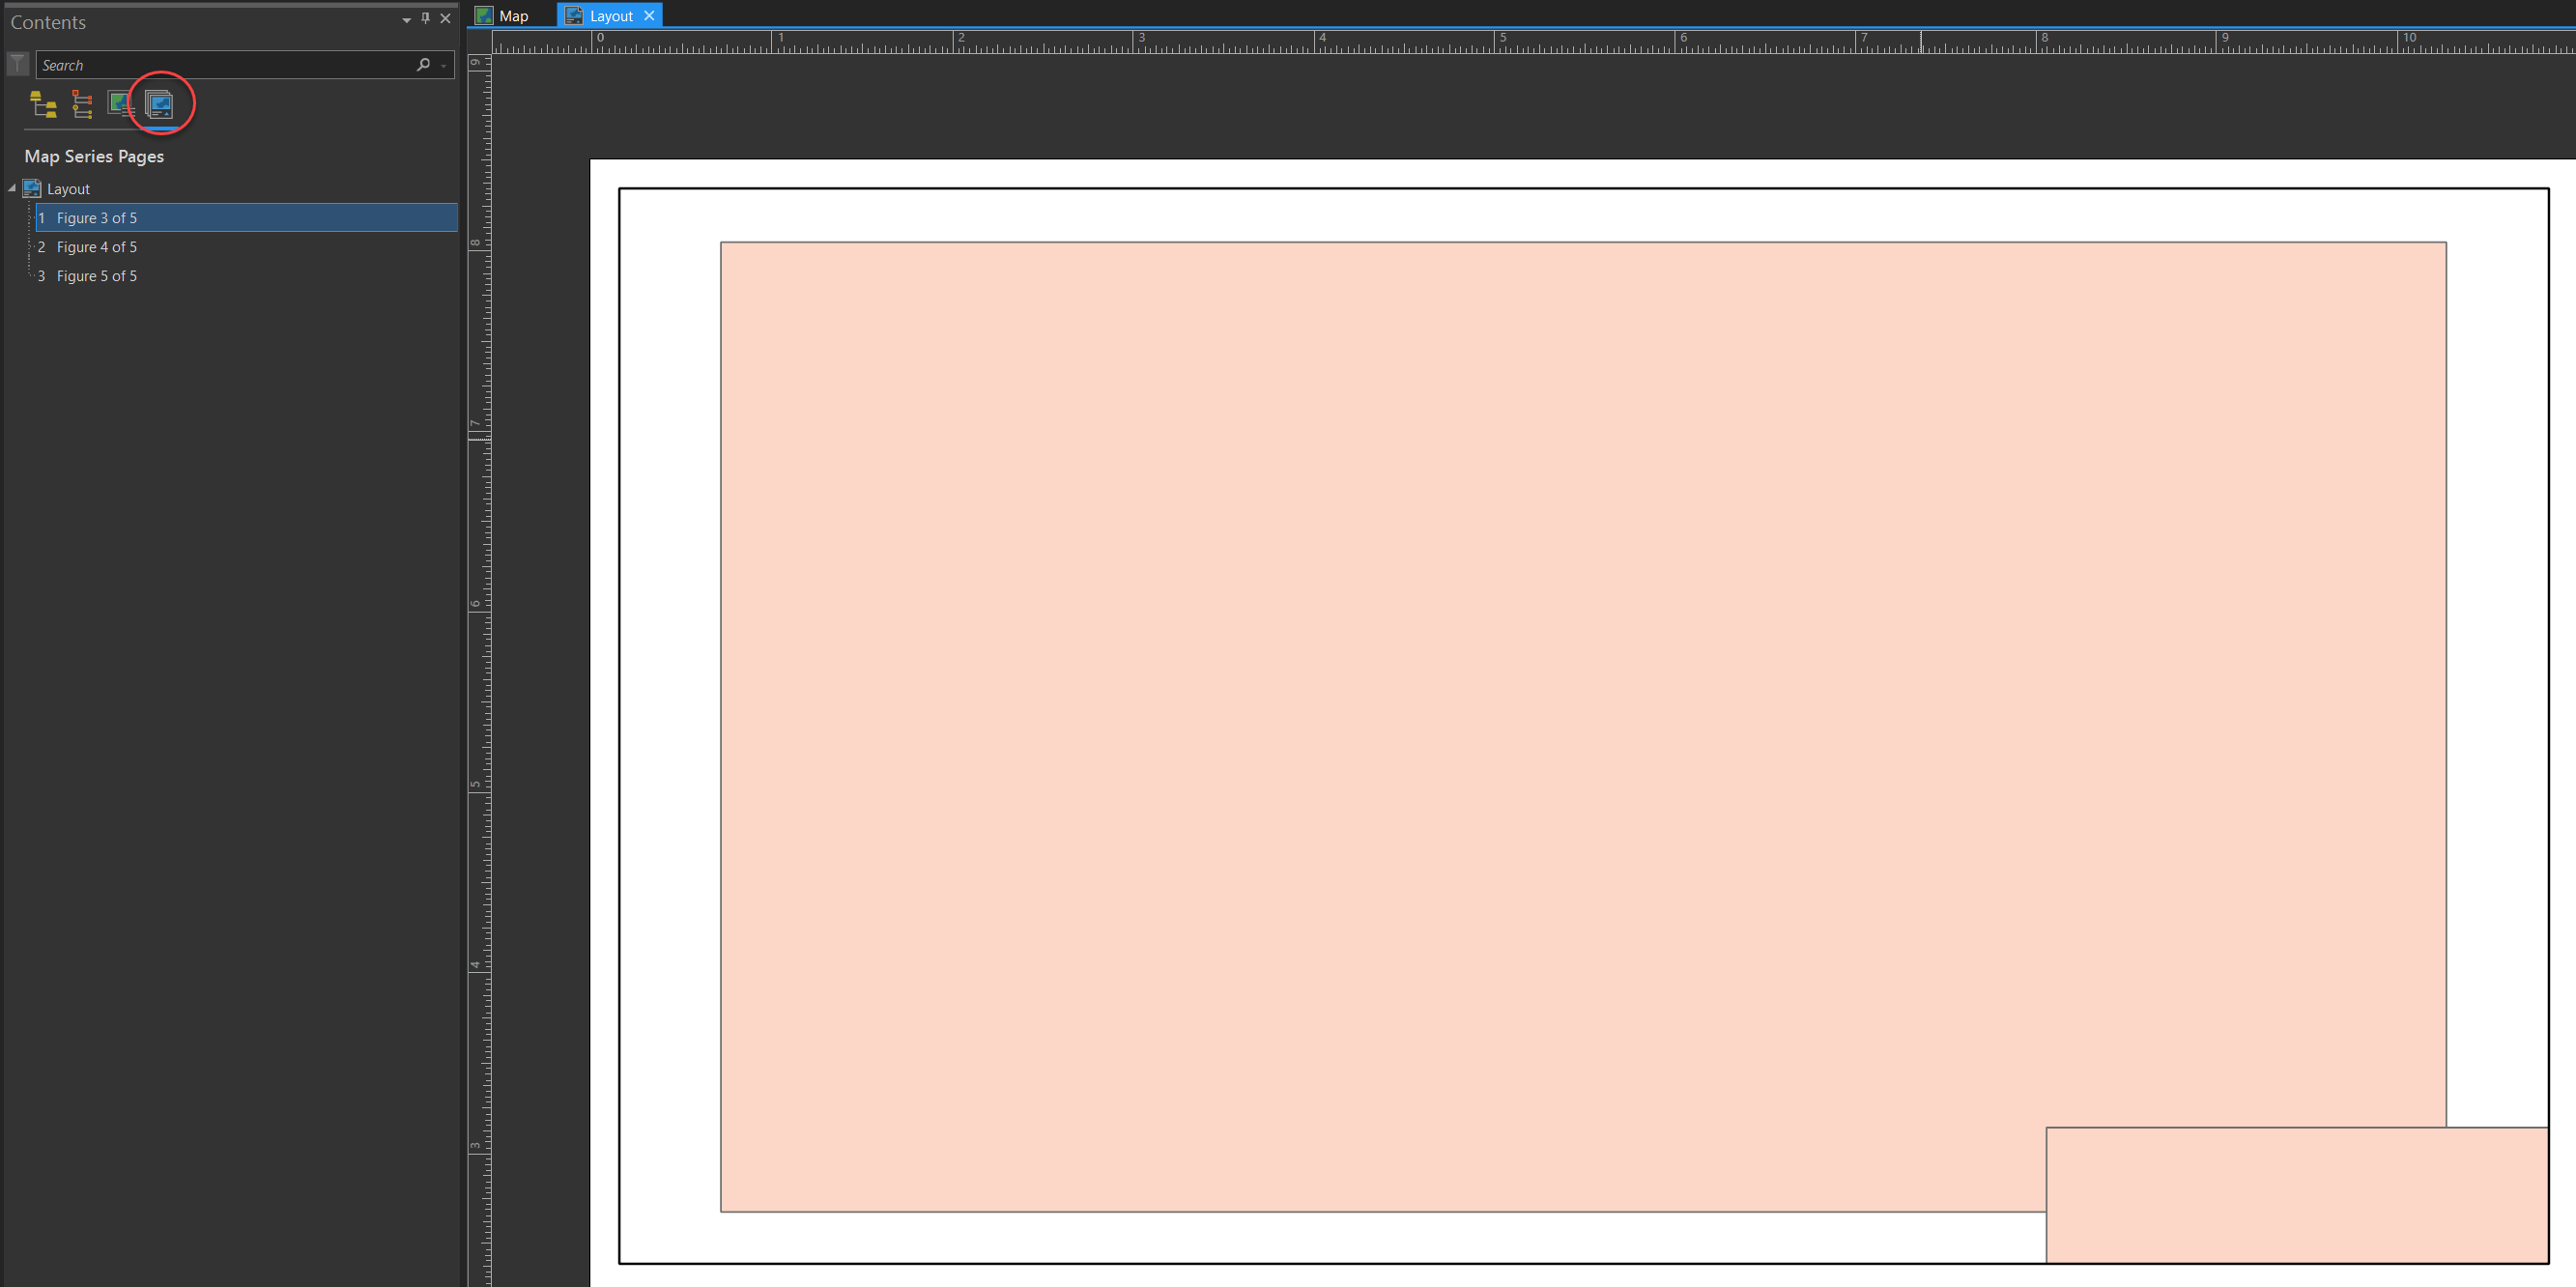
Once series is set and enable, list of pages in the series would show up under Table of Contents – List Map Series Pages (available only if in the Layout mode).
Setting up pages with rotation applied
Rotation applied to pages in the series works well if going along a road, or any other linear feature, which has a lot of turns and curves. In these cases, created layouts would look something like this:
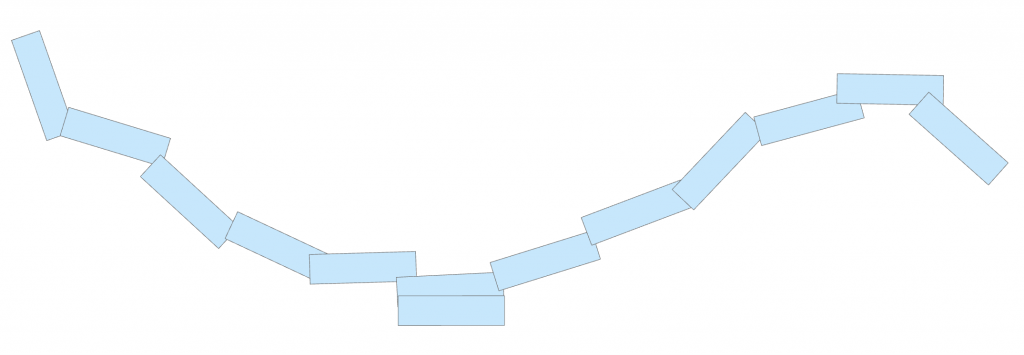
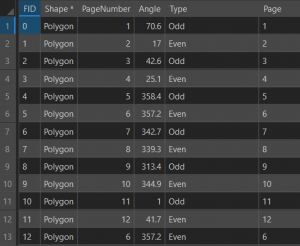
Each box is turned relative to compass angle. Rotation will be controlled from the attribute table with a new field added. For the index frame above, attribute table looks like this (field called “Angle” will control the rotation):
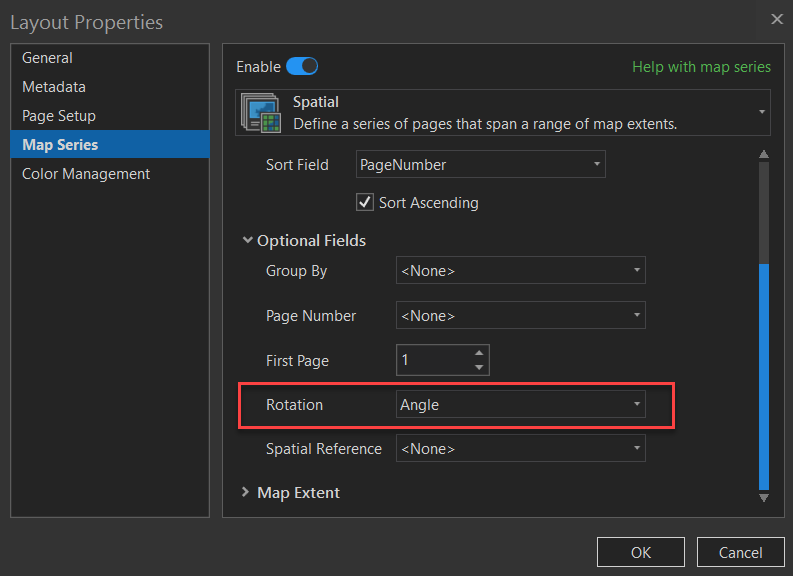
In the Properties for Map Series, under Optional Fields – Rotation – point to the Angle column in the attribute table:
Setting up map series – Bookmark
Note: if changing map series type for the layout, existing map series type (Spatial from examples above) would be replaced with the new one (Bookmarks).
Step one for this method – create bookmarks. That could be achieved either from the Map mode, or Layout mode. I do like setting up my bookmarks in the Layout mode. This allows me to set a scale to my liking, which could differ for each bookmark created.
Once bookmarks over areas of interest are chosen, properties would look like this:
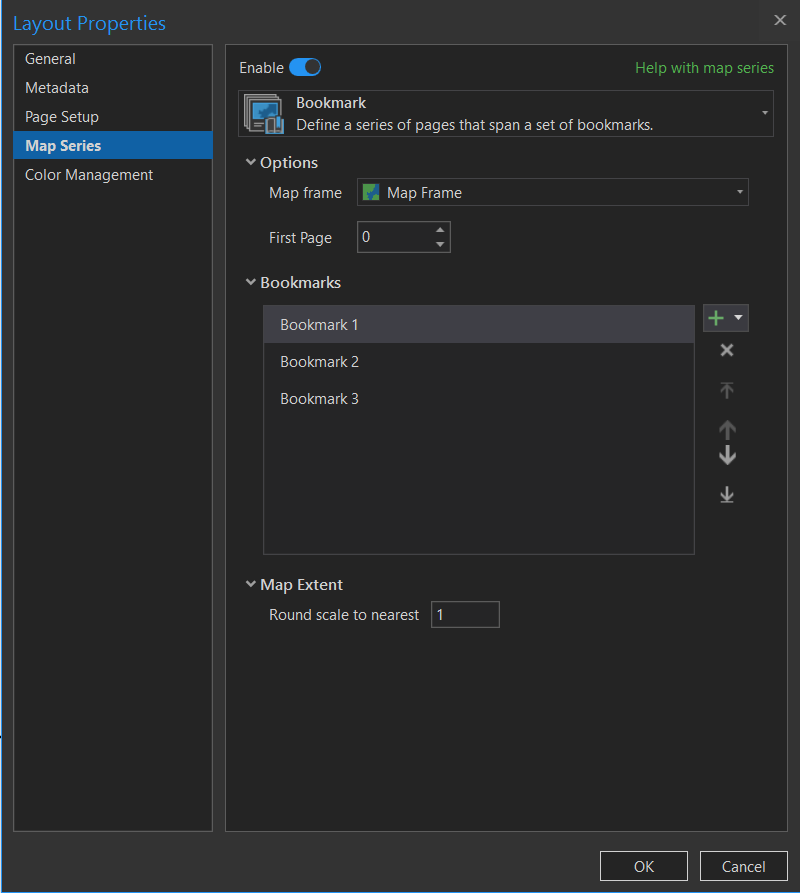
Effectively, each bookmark could be at a different scale and while you might have many bookmarks in the Pro project, you can specify which ones should be used in the series. For that, select bookmark you don’t want to use in the list, and click “X” sign on the right-hand side. To add a bookmark, hit “+”.
Exporting map series
Map series are exported via sharing, like anything else in ArcPro: Share tab in the Ribbon – Export Layout.
If map series is enabled, new tab will show up in the Export Layout panel. This is where you can choose whether to export all pages in series, or only specific ones.

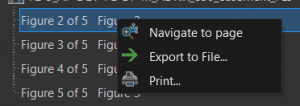
As another option and effectively the same thing, you can right-click on individual page in the Table of Contents, and select Export to File.
Map series elements in the title block
Following elements are impacted by the map series:
- Scale bar – will change if each page has different scale enabled (for example via bookmarks series type);
- North arrow – will turn according to angle of rotation if rotation is applied;
- Page number – will be extracted from attribute table if assigned.
To add dynamic text for page number, go to Insert tab in the Ribbon (if in the Layout mode) – Dynamic Text – locate Map Series under drop-down arrow:
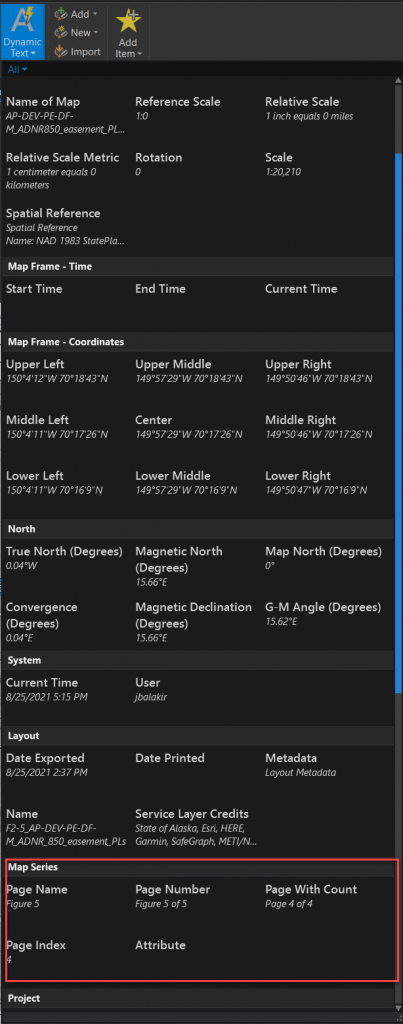
- Page Name – based on the field in the attribute table of the reference layer. Specified column will have to be pointed to in the map series Properties (under Index Layer – Name Field);
- Page Number – based on the field in the attribute table of the reference layer. Specified column will have to be pointed to in the map series Properties (under Optional Fields – Page Number);
- Page with Count – automatically generated based on the number of pages in the series. Format will be as indicated in the preview.
- Page Index – automatically generated based on the number of pages in the series and will be displayed as a sequential page number;
- Attribute – any additional attribute from the attribute table of the reference layer could be placed into title block. Example, custom description is associated with each layout box in the index layer. Description column could be added to the attribute table containing notes related to each feature. Information in the Description fields could be added to the title block and changed dynamically based on the page shown.
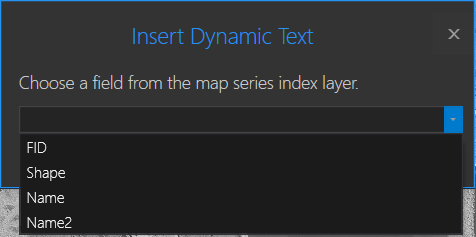
When using Attribute type of the dynamic text, choose field from the attribute table to point to:
Adding Insert Map with Index Layer as Extent Indicator
Last but not least – what if we want to display a small insert map with the reference index layer displayed and each frame highlighted to indicate which reference tile we are looking at in the main map?
In ArcMap, this functionality was available through “Page Definition” located under Properties of index layer under “Definition Query” tab.
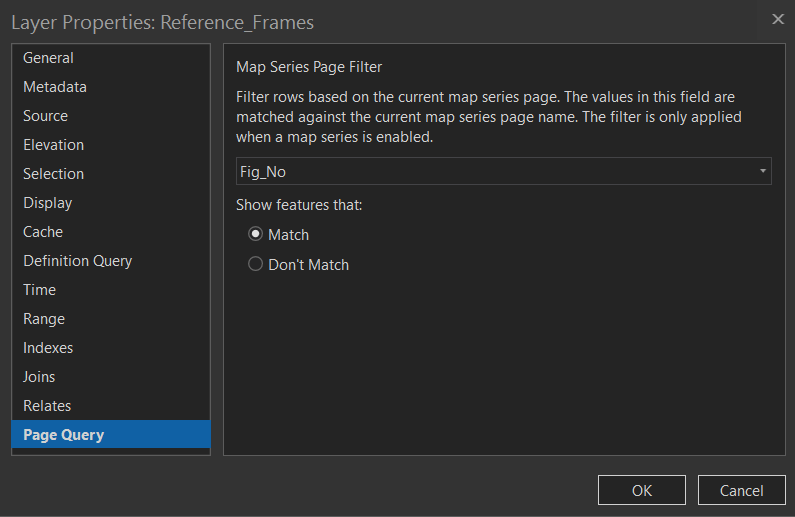
In ArcPro, the principal is still similar – the Tool is still located inder Properties, but now is referred to as “Page Query“.
After insert frame is placed and an index layer is added, right-click on the index layer – Properties – scroll to the bottom to “Page Query”. Make sure to select “Match” to select one frame at a time.
As an alternative, especially if using polygon grids, Extent Indicator would work well too, as long as the zoom on the reference boxes is tight in the main frame.